Build your own rotation
Choose cards, arrange decks and set how long each card stays on screen. Download cards from the public library as you choose them.

 Pixora LED Studio
Build a deck of useful cards and send it straight from your hub to your LED panels over local Wi-Fi.
Local playback · live cards may use internet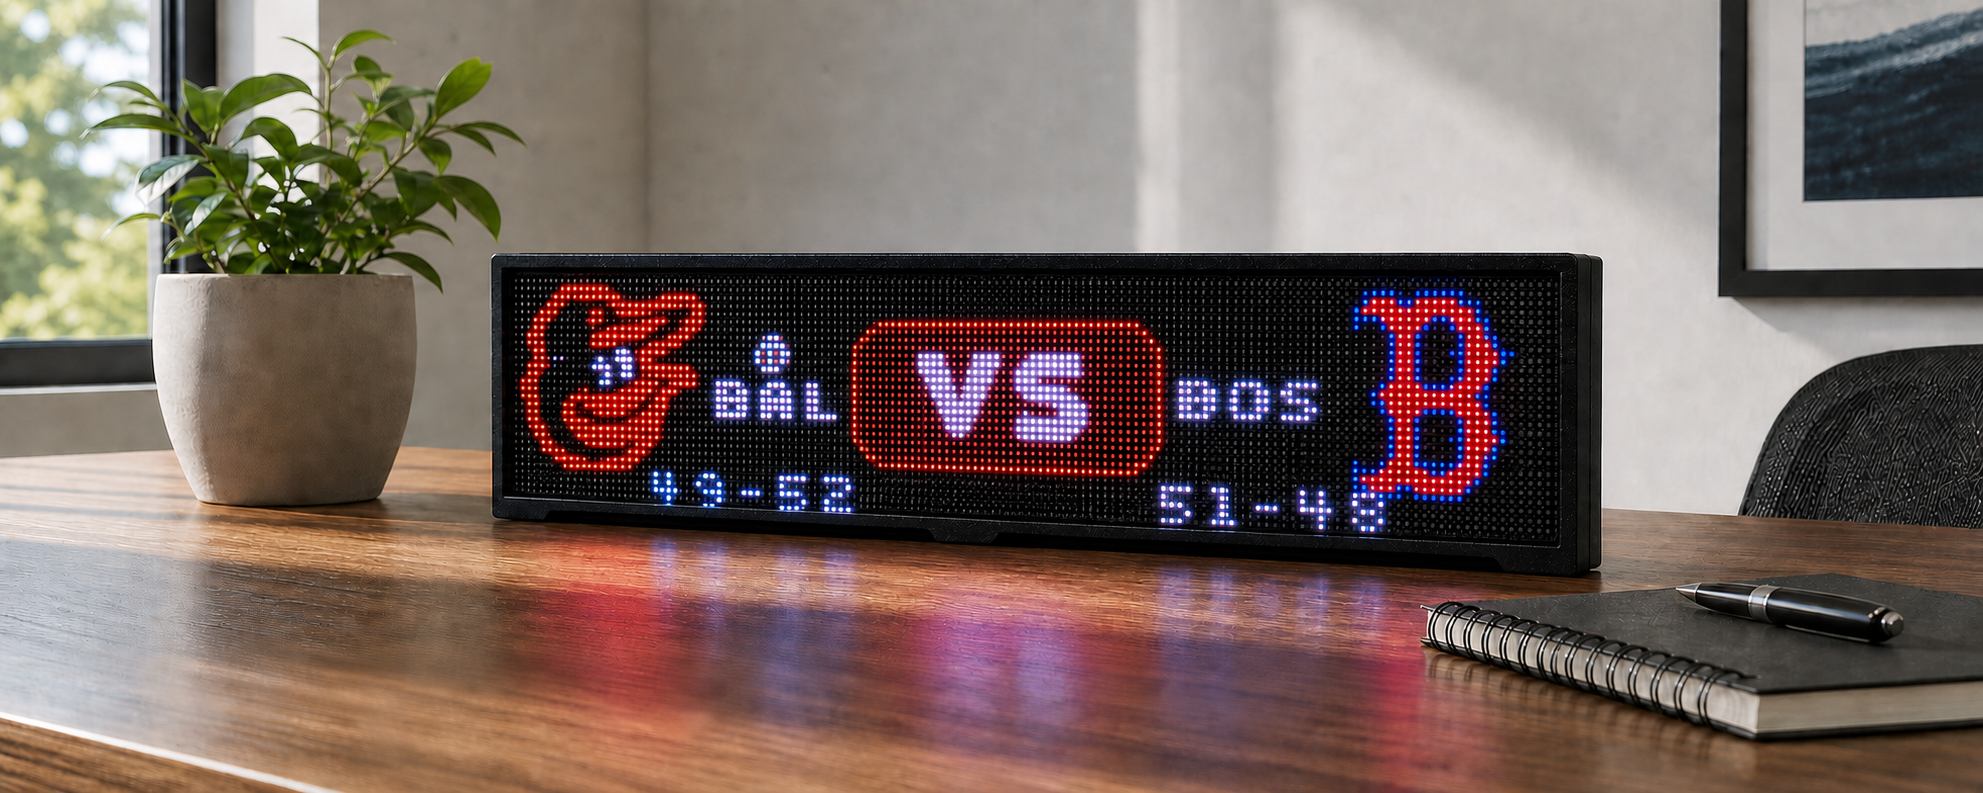
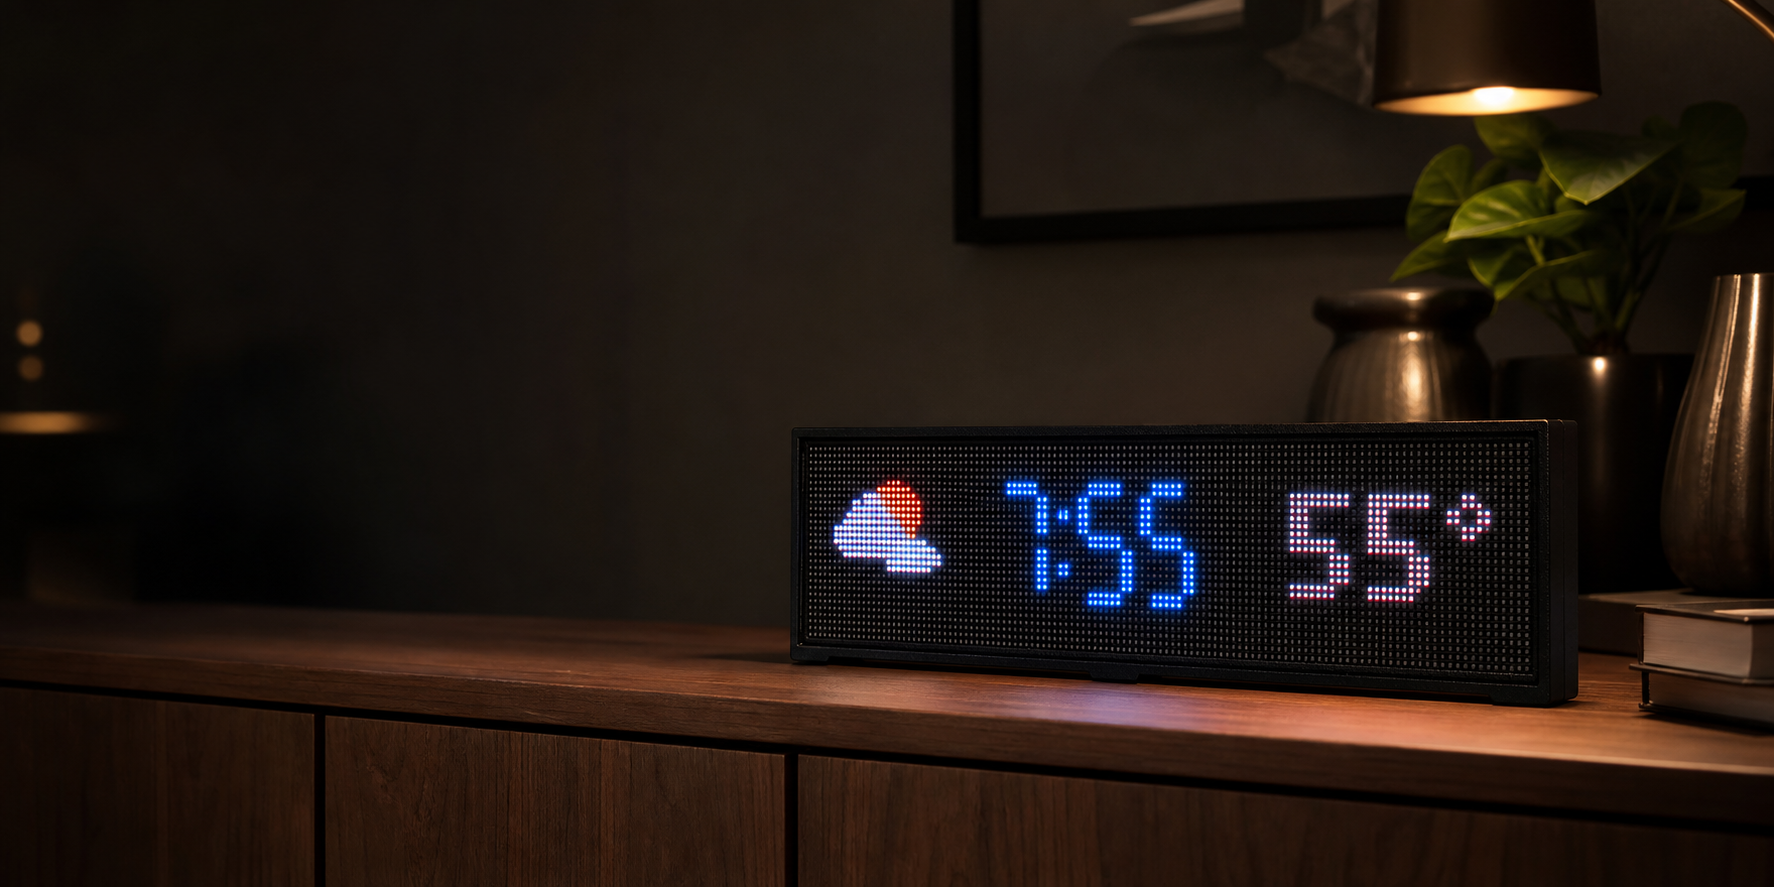
Choose cards, arrange decks and set how long each card stays on screen. Download cards from the public library as you choose them.
Manage individual panels and supported multi-display layouts, with priority graphics and quiet hours.
Saved decks, settings and rendering live locally. Online cards contact their own data providers; no Pixora Cloud renderer is needed.
Install LED Studio and open its Web UI. Prepare a supported MatrixPortal S3 display using the repository’s first-install instructions, connect it to Wi-Fi, then add its IP address in Studio.
For Home Assistant installations with app support, such as Home Assistant OS. Add the repository once, then install only the apps you need.
Open the app repository ↗https://github.com/bptworld/PixoraHQforHA.